
Mastering the Full Albany NY Web Design Process: From Idea to Launch
In today’s digital world, a website is no longer a luxury—it’s a necessity. For businesses in Upstate New York, investing in high-quality Albany NY Web design is the key to establishing an online presence, building credibility, and converting visitors into loyal customers. But what does the web design process actually look like?
In this blog post, we’ll break down the start-to-finish journey of creating a professional website. Whether you’re a small business owner or a growing brand, understanding the full process gives you clarity, confidence, and a stronger voice during the design phase.
Let’s explore how a custom website is planned, structured, developed, and launched—with insights into timelines, tools, and best practices.
What Makes Web Design Unique?
Before diving into the process, it’s important to understand why working with a local Albany NY Web design firm matters. Agencies that understand the regional market, like Powerful Media Solutions, bring insights into customer expectations, local SEO tactics, and branding preferences relevant to Upstate New York businesses.
Local design companies also provide more collaborative experiences—frequent communication, faster turnaround times, and design solutions customized to your brand voice.
Step 1 – Identifying Goals and Creating a Creative Brief
Every great website begins with a deep understanding of your business goals and audience. In this phase, web designers work closely with clients to answer key questions:
- What’s the primary purpose of the website (sales, lead generation, brand awareness)?
- Who is your target audience?
- What actions do you want users to take?
- What websites do you admire or want to emulate?
- Are there any must-have features or integrations?
These insights form the creative brief, which outlines branding expectations, non-negotiable features (like customer portals or lead forms), and visual elements (colors, logos, typography). This brief becomes the foundation for every decision made moving forward.
Step 2 – Defining Project Scope and Timeline
Once goals are defined, the next step is to establish the project scope. This includes:
- Number of pages
- Required features (e.g., blog, e-commerce, contact forms)
- CMS or custom development?
- Deadlines and approval checkpoints
Scope creep—adding extra features after planning—can delay timelines and increase costs. That’s why it’s important to outline expectations clearly from the start. Most design firms use tools like Gantt charts or project management boards to manage milestones and timelines effectively.
Step 3 – Building the Sitemap and Information Architecture
A sitemap is essentially a blueprint of your website. It lists all the pages you’ll need and how they connect to one another through navigation menus and internal links. It ensures:
- Logical user flow
- Complete page coverage (no missing sections)
- Consistent hierarchy for SEO and UX
Designers also begin organizing the site’s Information Architecture (IA), making sure content is grouped in a way that’s easy to understand. Tools like MindNode or Slickplan help visualize how the user will interact with your site from the homepage to checkout or contact form.
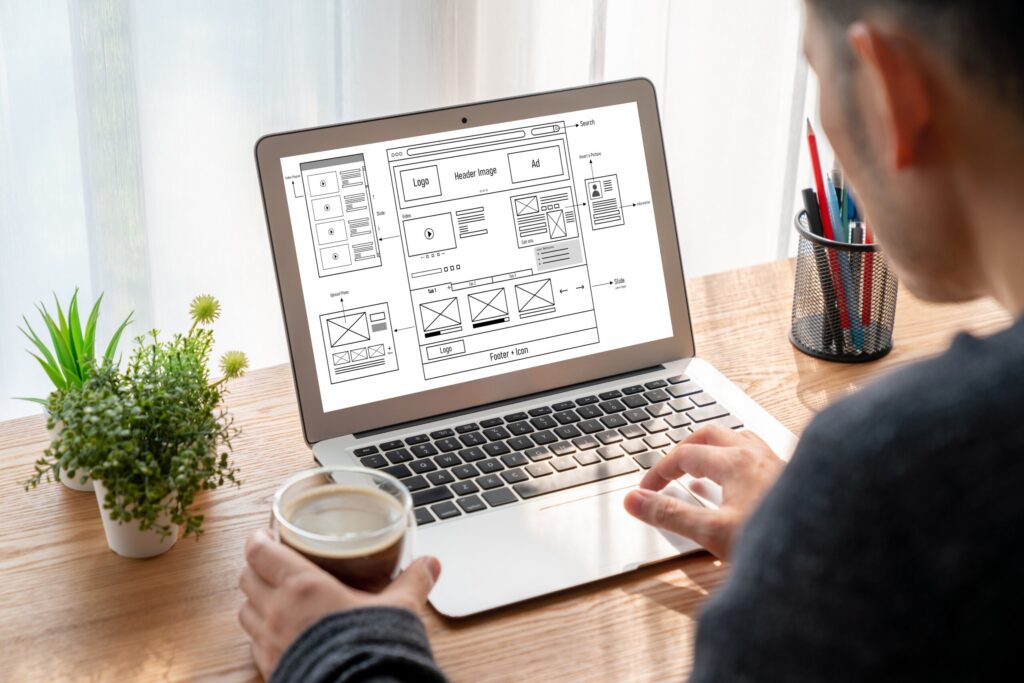
Step 4 – Wireframing for Structure and Layout
Think of wireframes like the architectural floor plan for your website. They’re black-and-white outlines of page structures, showing:
- Where headers, menus, and CTAs will go
- How forms and images are placed
- Where the user’s attention should go first
At this stage, there’s no color or branding—just structure. Wireframes save time by giving clients a chance to approve layouts before final designs are built.
Step 5 – Content Creation and SEO Integration
Once wireframes are approved, the content team gets to work. Content serves two essential roles:
- Engaging the visitor: Clear, persuasive content that communicates your brand and encourages action.
- Improving SEO: Content is optimized for relevant keywords, including header tags, meta descriptions, and page titles.
For example, if you’re targeting Albany NY Web design, that phrase should appear strategically throughout your homepage and service pages. Blog content and FAQs also play a role in ranking higher on search engines.
Step 6 – Visual Design and Branding Integration
Now it’s time to bring your brand to life. Using the approved wireframes and content as a base, designers add:
- Color schemes
- Fonts
- Imagery and videos
- Animations and micro-interactions
The goal here is visual consistency. A good web designer ensures that your site reflects your brand across every page—from your homepage down to your 404 error page. Many firms use style tiles and mood boards to test branding elements early in the process.
Step 7 – Prototype Development and Client Testing
Before the real coding begins, a clickable prototype is developed. This is a simulation of how the live site will function—allowing clients to click buttons, scroll, and explore.
This step is where you finalize:
- Navigation flow
- Call-to-action placement
- Page-to-page transitions
Feedback during this stage is critical. It’s easier (and more cost-effective) to make structural changes now than after development has started.
Step 8 – Website Development and CMS Integration
After prototype approval, developers begin building the site—typically using HTML, CSS, JavaScript, and a backend CMS like WordPress.
This phase includes:
- Mobile responsiveness
- SEO-friendly coding
- CMS setup (so clients can make updates themselves)
- Page speed optimization
- Plugin or API integration (e.g., scheduling tools, CRMs)
Firms like Powerful Media Solutions often combine custom coding with CMS features to ensure the site is both user-friendly and high-performing.
Step 9 – Testing, Quality Assurance, and Mobile Optimization
Once the site is coded and content is in place, it undergoes extensive testing, including:
- Cross-browser compatibility (Chrome, Safari, Firefox, etc.)
- Mobile responsiveness
- Form submissions and button functionality
- Speed testing
- Broken link and image checks
SEO performance is also double-checked—ensuring meta tags, image alt text, and internal links are fully optimized. Mobile testing is critical, as more than 60% of website traffic now comes from smartphones.
Step 10 – Launch and Post-Launch Maintenance
With all testing complete and client approval secured, the site goes live! But that’s not the end—it’s just the beginning.
After launch, ongoing maintenance includes:
- Software and plugin updates
- Speed monitoring
- Content and design refreshes
- SEO audits
- Analytics tracking
You can also start your digital marketing strategy post-launch—running PPC ads, blogging, and social media promotions to drive traffic to your new site.
For trend insights, read this article about top 2025 web design trends.
Final Thoughts
Building a great website isn’t about slapping together pages—it’s a step-by-step process involving creativity, planning, and technical expertise. Whether you’re launching your first site or upgrading an outdated one, the journey from idea to launch is made easier with experienced partners.
For businesses looking to invest in Albany NY Web design, partnering with a local expert like Powerful Media Solutions ensures you get a website that performs, converts, and reflects your brand perfectly.
If you’re ready to build or rebuild your online presence, the time to start is now.